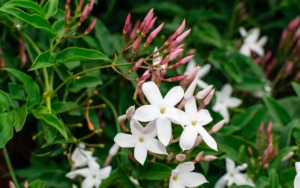
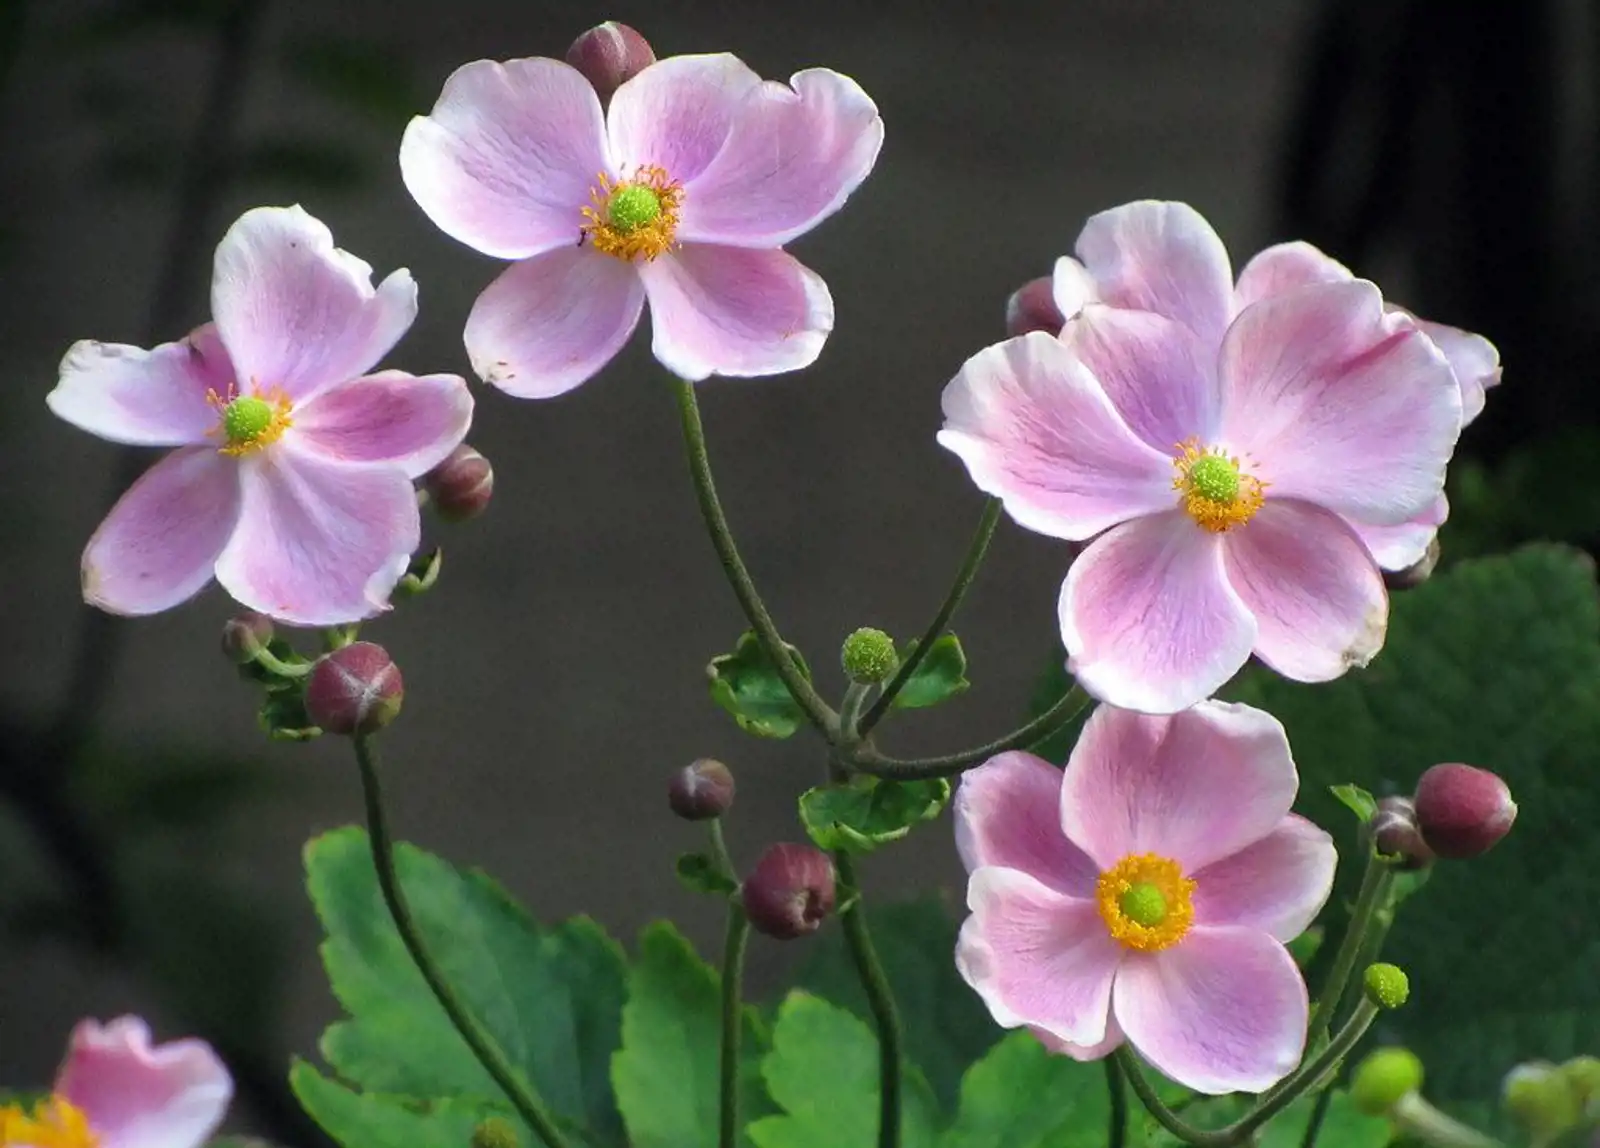
Japanese anemone (Anemone hupehensis), also known as the autumn anemone, is a delightful flowering plant that brightens gardens with its delicate blooms and lush foliage. In this blog post, we’ll explore everything you need to know about growing, planting, and caring for this stunning perennial. Whether you’re a seasoned gardener or just beginning, Japanese anemone is an excellent choice for adding color and elegance to your garden throughout the autumn months.
Table of Quick Facts
| Common Name | Japanese Anemone |
|---|---|
| Botanical Name | Anemone hupehensis |
| Family | Ranunculaceae |
| Plant Type | Herbaceous perennial |
| Mature Size | 2–4 feet tall, 2–3 feet wide |
| Sun Exposure | Full sun to partial shade |
| Soil Type | Well-draining, moist, loamy |
| Soil pH | Slightly acidic to neutral (6.0–7.5) |
| Hardiness Zones | 4–8 |
| Native Area | China, Japan, Korea |
| Toxicity | Non-toxic to humans and pets |
Planting and Transplanting Japanese Anemone
Planting Japanese anemone requires careful attention to timing, location, and soil conditions to ensure successful growth. These plants thrive in well-drained, slightly acidic to neutral soil. Let’s go through the steps of planting and transplanting Japanese anemone.
Planting Japanese Anemone
Start by selecting a spot that receives partial sun to full sun. Japanese anemones can tolerate light shade, but they perform best with adequate sunlight. The soil should be rich in organic matter, ensuring it drains well but retains moisture.
- Step 1: Prepare the Soil Loosen the soil in the area where you plan to plant. If the soil is compact, amend it with compost or other organic materials to improve drainage and fertility.
- Step 2: Dig a Hole Dig a hole about twice the size of the root ball of your plant. This gives the roots room to spread and grow.
- Step 3: Place the Plant Position the Japanese anemone in the hole, ensuring that the crown (where the stem meets the roots) is level with the soil surface. Fill in the hole with soil, and water thoroughly.
- Step 4: Watering Water the plant generously after planting, but avoid waterlogging the soil. The plant’s roots will need time to establish, so make sure the soil stays consistently moist during the first few weeks.
Transplanting Japanese Anemone
If you need to move your Japanese anemone, choose a cooler time of year, ideally early spring or fall, to reduce stress on the plant. Transplanting should be done carefully to minimize root disturbance. Follow the same steps for preparing the new planting hole as you would for planting.
Japanese Anemone Care
Once your Japanese anemone is planted, providing proper care will help it thrive. Japanese anemones are relatively low-maintenance, but a little attention can go a long way in keeping them healthy and vibrant.
Watering
Japanese anemones prefer consistently moist, well-drained soil. Water them regularly, particularly during dry spells. However, ensure the soil is not waterlogged, as this can lead to root rot. Mulching around the base can help retain moisture and keep the soil cool during the summer heat.
Fertilizing
Japanese anemones are not heavy feeders but will benefit from a light application of balanced fertilizer in early spring. A slow-release granular fertilizer or a liquid fertilizer diluted to half strength will encourage healthy growth and blooming.
Mulching
Mulch around your Japanese anemone to retain moisture, prevent weeds, and regulate soil temperature. Use organic materials such as bark, straw, or shredded leaves. Just make sure the mulch doesn’t pile up around the base of the plant.
Types of Japanese Anemone
There are a variety of Japanese anemone cultivars, each with its unique characteristics. The most popular types include:
Anemone hupehensis ‘September Charm’
This cultivar is known for its soft pink flowers with a white center, creating a soothing appearance in gardens. It blooms from late summer to early fall and grows up to 4 feet tall.
Anemone hupehensis ‘Honorine Jobert’
A classic white variety, ‘Honorine Jobert’ is a favorite among gardeners for its elegant, snow-white flowers. This cultivar has a more upright habit and tends to grow a little taller, reaching up to 4 feet.
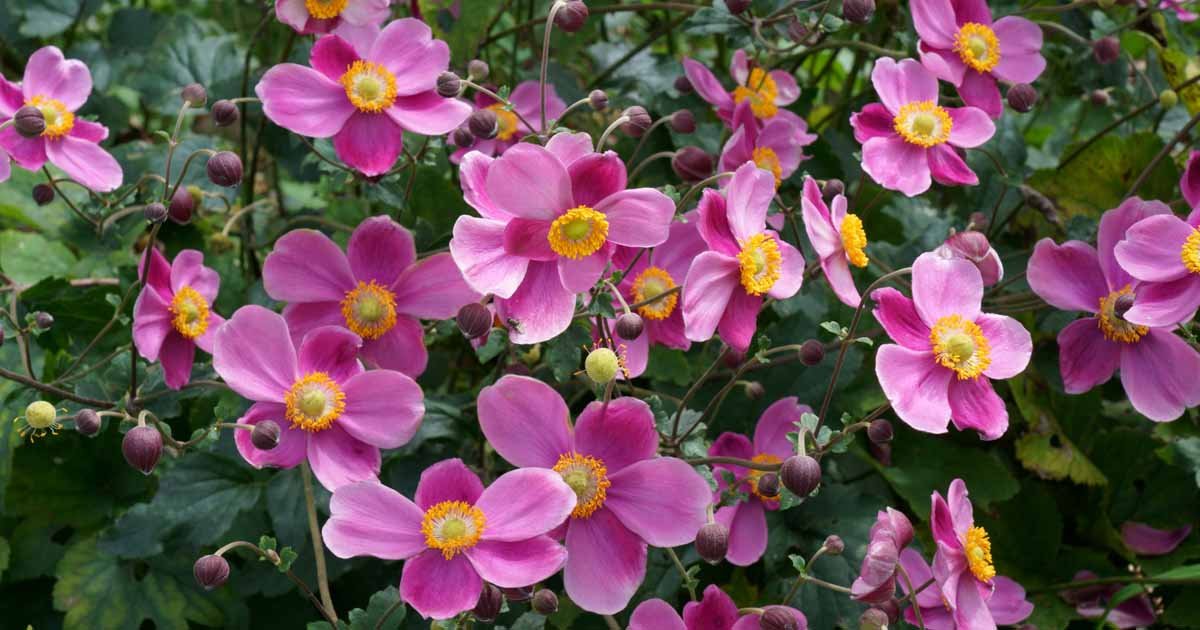
Anemone hupehensis ‘Pamina’
For a deeper color, ‘Pamina’ offers rich, magenta-pink flowers with a dark center. This cultivar is slightly more compact, growing to around 3 feet in height.
Pruning Japanese Anemone
Pruning Japanese anemones is essential for maintaining their shape, encouraging new growth, and ensuring healthy blooms. Here’s how to do it:
When to Prune
The best time to prune Japanese anemones is after they finish blooming in late fall or early spring, before the new growth starts. This helps to remove any dead or damaged stems and encourages vigorous growth in the upcoming season.
How to Prune
Use clean, sharp scissors or pruning shears to cut back any dead or damaged stems to the ground level. This will help the plant conserve energy and focus on producing new shoots. If you wish to control the size of the plant, prune some of the older stems to keep the shape tidy.
Propagating Japanese Anemone
Japanese anemones can be propagated through division or by rooting stem cuttings. The most common method, however, is division.
Dividing the Plant
- Step 1: In early spring or late fall, dig up the Japanese anemone clump carefully. Use a sharp spade to divide the root ball into several sections, each with a portion of the root system and at least one growing shoot.
- Step 2: Replant the divisions in their new location, ensuring they are spaced 1–2 feet apart.
- Step 3: Water thoroughly to help the newly divided plants establish roots.
Propagation through division is best done every 3 to 4 years to maintain the plant’s vigor and prevent overcrowding.
Potting and Repotting Japanese Anemone
Though Japanese anemones are typically planted in the ground, they can also be grown in pots. Potting is ideal for those with limited garden space or who want to keep the plant contained.
Choosing the Right Pot
Choose a pot that is at least 18 inches in diameter to give the roots room to grow. Ensure the pot has drainage holes to prevent water from accumulating at the bottom.
Repotting
Repot Japanese anemones every 2–3 years to refresh the soil and encourage healthy growth. Gently remove the plant from the pot, prune the roots if necessary, and place it in a slightly larger container with fresh potting mix.
Overwintering Japanese Anemone
In colder regions, overwintering Japanese anemone may require additional care to protect the plant from freezing temperatures. Here are some tips to help your Japanese anemone survive the winter:
Mulching
Apply a thick layer of mulch around the base of the plant to protect the roots from frost. This will help insulate the plant and keep it alive through the winter months.
Cutting Back
After the first frost, cut back the stems to about 4–6 inches above the soil level. This helps prevent disease and keeps the plant tidy.
Container Plants
If you’ve grown your Japanese anemone in a pot, bring it indoors or into a sheltered area such as a cold frame during winter. Keep the plant in a cool, dry place and water sparingly.
Common Problems with Japanese Anemone
While Japanese anemones are relatively hardy, they can face a few common problems. Here are some issues you might encounter:
Wilting or Yellowing Leaves
This can be a sign of overwatering or poor drainage. Ensure the soil is not waterlogged and that the plant has access to well-drained soil.
Root Rot
Root rot is caused by excess moisture and poor drainage. If the plant’s roots are soggy and mushy, it’s essential to remove the affected area and improve the soil’s drainage.
Common Pests & Plant Diseases
Japanese anemones are fairly pest-resistant, but they can still fall prey to a few common pests and diseases.
Pests
- Aphids: Small, soft-bodied insects that suck the sap from the leaves. They can be removed with a strong jet of water or by using insecticidal soap.
- Slugs and Snails: These pests can damage the leaves and flowers. Use slug bait or beer traps to keep them at bay.
Diseases
- Powdery Mildew: This fungal disease appears as a white, powdery coating on the leaves. To prevent it, space the plants properly for good air circulation and avoid overhead watering.
- Leaf Spot: This disease causes dark spots on the leaves. Remove affected leaves and apply fungicide if necessary.
How to Get Japanese Anemone to Bloom
Getting your Japanese anemone to bloom is relatively simple if the plant is provided with the right conditions. Here’s what you can do:
Adequate Sunlight
Ensure the plant receives at least 4–6 hours of sunlight each day. Japanese anemones are known for blooming in late summer to fall, so enough light is crucial for flower production.
Proper Watering
Maintain consistently moist soil, especially during the growing season. However, avoid overwatering, as this can reduce flower production and lead to root rot.
Fertilization
Fertilize the plant lightly in early spring, as this can promote better blooming. Use a balanced fertilizer that encourages flower production rather than just leafy growth.
FAQ
Q: How long does it take for Japanese anemone to bloom?
A: Japanese anemone typically blooms in late summer to early fall, about 2–3 years after planting.
Q: Can I grow Japanese anemone in a container?
A: Yes, Japanese anemones can be successfully grown in containers. Just make sure the pot is large enough and has good drainage.
Q: Are Japanese anemones deer-resistant?
A: Yes, Japanese anemones are generally considered deer-resistant due to their tough foliage and strong scent.
Read also: Ficus Audrey: How to Grow and Care for Ficus Audrey